Do you ever wonder if people arriving on your home page or product pages are reading the content that you have? Or, do you wonder where most people stop reading and leave the page? If so, keep reading! (And please do, I’m scroll tracking this page!)
One of the standard metrics that has long been used to evaluate website content and staying power has been the time per session measure used in Google Analytics. By measuring how much time, on average, people spend on our site we get an idea of how serious visitors are in the information we provide. Coupling that with the pages per session metric, we can glean about how long an average visitor to our site spends on each page. (Of course, also throwing out the outliers with a time-out limit.)
But these measurements leave out important information, such as: how far down a page are visitors getting? And are they getting to important parts of the page, like where lead generation tools and call to action buttons are placed?
Today’s trend of designing websites with fewer pages and more vertical space means that implementing scroll tracking can be a valuable tool in webpage optimization. Learning where visitors stall out on your pages, what content they are seeing, and where a popular page exit point is can be incredibly useful. It may mean rearranging pages in order to put the right call to action in the right place.
Here’s how to set up and report scroll tracking:
- First, if you don’t already have a Google Tag Manager account, you’ll want to get one of those setup. The setup is pretty easy, the hardest part being that you’ll need to install a new tracking code on your website. If you already have Tag Manager set up, skip on down to step three.
- After you have the Tag Manager account set up and your tracking code installed, the first thing you’ll want to do is create a Universal Analytics tag to reference your Google Analytics account for your site.
- Now comes the fun part. In Tag Manager, select “Variables” on the left-hand navigation. In the Built-In Variables section, select “Configure” in the upper right corner. Check off as many variables as you want, but make sure you check off “Scroll Depth Threshold” under the Scrolling section.
- Select “Tags” from the left-hand navigation. Start a new tag by clicking “New.”
- Under Tag Configuration, select Google Analytics – Universal Analytics.
- When the GA tag populates, select “Event” from the first drop-down menu. From there, title the event in Category. Click the “+” icon next to the Action field and select {{Page Path}}. In the Label field, click “+” and select “{{Scroll Depth Threshold}}.
- Select the Google Analytics Setting that you set up in step two under the Google Analytics Settings drop down.
- With the tag set up, now it’s time to design the Trigger. In the Trigger section, click to bring up Choose a Trigger.
- Click the blue “+” sign in the upper right-hand corner.
- Click to begin the Trigger Configuration. In the menu that appears, select “Scroll Depth” under User Engagement.
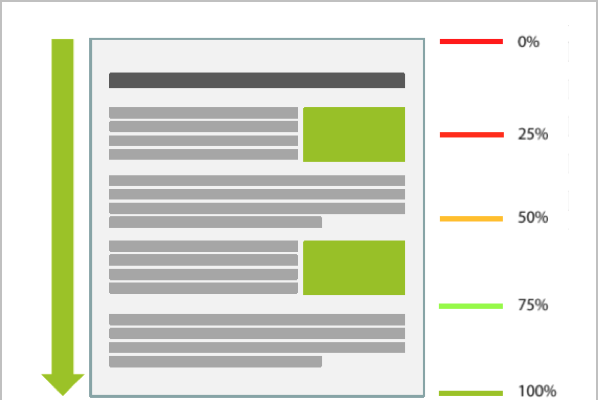
- Now you can configure your scroll tracking in the way that you want. 9.9 times out of 10, you’ll want to track vertical scrolling. Check that box and fill in the screen percentages that you want reported in Analytics. A solid way to start would be to enter “25, 50, 75, 100.”
- I typically will have the trigger enabled on Container Load, so I would select that from the drop-down.
- From there, you can be all done with this trigger set up, or you can dictate which pages on your site you would like this trigger to fire.
- Go ahead and save the trigger and the tag, and then publish your workspace in Tag Manager to make it live on your site.
From there, you can test the tag to ensure it worked by going to your Google Analytics account. Under the “Real-Time” menu, click on Events. Load your site and start scrolling and clicking. Analytics should then report in real time the scroll tracking that was implemented.
To report on this for long-term use, Analytics will log all of this information under “Behavior > Events” in the left-hand navigation. You can cross reference pages, users, etc. all with the scroll tracking statistics.
Happy tracking!